
Importing Data from CustomBooks
CustomBooks is used to import 1099-MISC and 1099-NEC forms into Tax1099. Users must have vendor data set up in their CustomBooks account. The import process involves connecting the CustomBooks account to Tax1099, selecting the appropriate tenant, and allowing access for data transfer. Once connected, users can select the tax year and form type to continue with the import into Tax1099.
To import the data from CustomBooks, perform the following steps:
1. Login to the Tax1099 application.
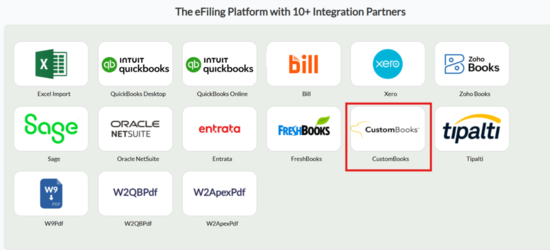
2. Click Imports from the left pane, Integrations partners page appears, and then click CustomBooks.
The CustomBooks login page appears. Click Connect to CustomBooks.
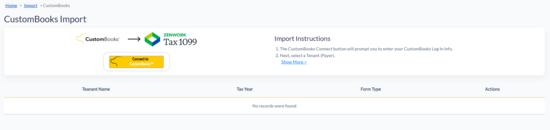
3. Click Connect to CustomBooks and enter your CustomBooks Login credentials.
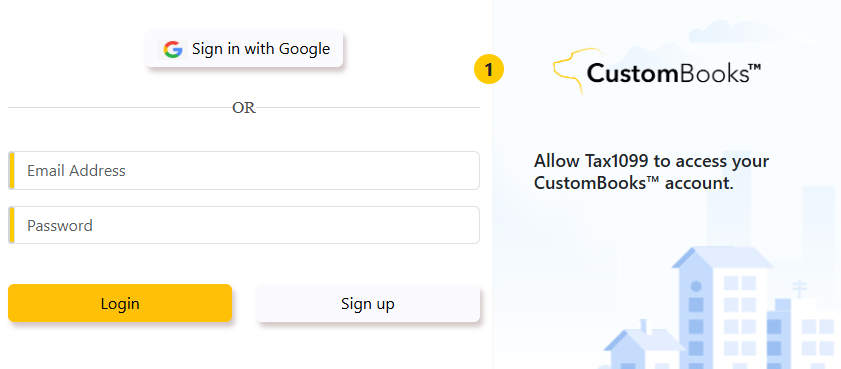
4. Select the tenant (payer) from the Tenant list.
5. Click Allow Access to allow Tax1099 to access your CustomBooks account data to complete the import process.
6. Tax1099 will import payer, payee, and 1099 amounts from CustomBooks to the Tax1099 system.
7. Verify the data after import, click select All and Next to proceed with the import.
8. Accountants/Users with multiple companies can import one company at a time. After completing the data import for one company, click Disconnect from CustomBooks and then reconnect using the same procedure.
9. All imported data will be eFile ready for IRS/State and can be submitted under My Dashboard > Submit My Forms.