
Upload Accounts
The Upload Accounts feature in Tax1099 allows users to efficiently import multiple recipient accounts at once. This functionality streamlines the process of adding recipient information for tax reporting, minimizing manual data entry, and reducing errors.
To manage the accounts, perform the following steps:
-
Login to Tax1099 application.
-
From the left pane, click on Combined Dashboard.The Combined Statement Dashboard page appears and then select Upload Accounts.
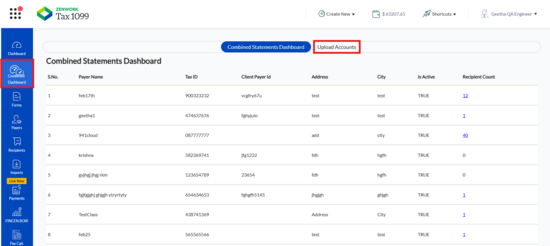 The Manage Account page appears.
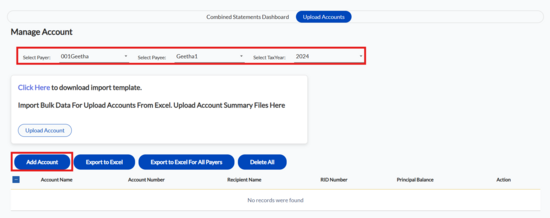
-
Select the payer from the Select Payer list.
-
Select the payee from the Select Payee list.
-
Select the tax year from the Select Tax Year list.
-
The account details appear along with the account number, recipient name, ID, principal balance, and action.
-
(Optional) Browse and select the file from your local system, and then click Bulk Import to import the accounts in bulk.
-
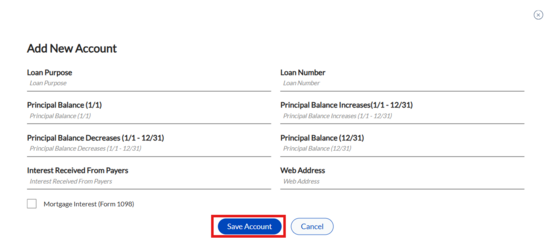
(Optional) Click Add Account to add an account.
-
On the Add Account dialog box, enter the required details, and then click Save Account to add your account.
-
Click Export to Excel for All Payers to export all payer's data into an Excel file.
-
Click Export to Excel to export all the data into an Excel file.
-
Click Delete All to delete the data.